First login and next steps
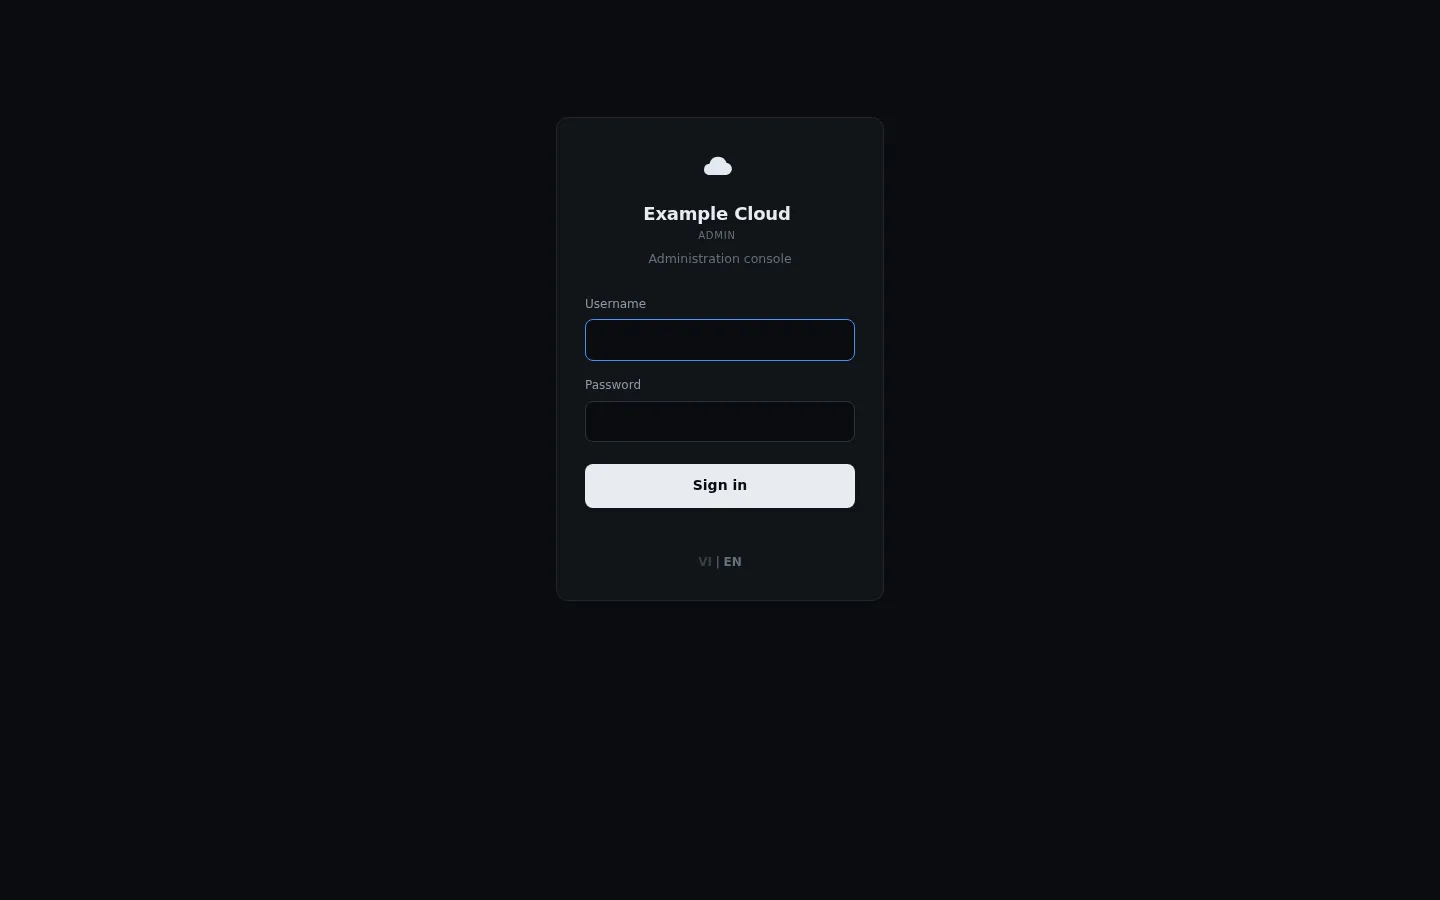
Where in the admin: the login page is
/admin; after sign-in the landing page is Overview › Dashboard.
Addresses
| What | URL |
|---|---|
| Customer portal | https://<domain>/ |
| Admin console | https://<domain>/admin |
| Setup / emergency by IP | http://<server-IP>:3000/ (see the panel port) |
| Health check | https://<domain>/healthz |
Sign in
- Open
https://<domain>/admin. - Enter the administrator e-mail and password you created in the wizard.
- You land on the Dashboard. A banner at the top appears if the license is not valid or no source is connected.
Recommended checklist
Work through these in order — each links to its page.
| # | Task | Page |
|---|---|---|
| 1 | Turn on two-factor authentication for yourself | Security |
| 2 | Connect an infrastructure source (if you chose "Connect later") | CloudStack or Proxmox VE |
| 3 | Check zones and the machine templates / OS list | Zones, Templates |
| 4 | Review plans and prices | Plans |
| 5 | Set your logo, colours and legal pages | Branding, Legal |
| 6 | Configure outgoing e-mail and send a test | SMTP and emails |
| 7 | Enable at least one payment channel and test a top-up | Payment channels |
| 8 | Decide which modules you sell | Modules |
| 9 | Place a test order as a customer and delete it | Ordering |
| 10 | Make a first backup | Backup and restore |
Create your first order (smoke test)
- Open the customer portal in a private window and register a test account.
- Add credit (a voucher or a test payment).
- Order the smallest plan in your zone.
- Watch it appear in the admin under Services › Virtual Machines, open its console, then destroy it.
If the VM does not reach running, open Infrastructure › Cloud provider › Sync & errors and read the error.