Sign-up, wallet and top-up
Where in the portal:
/register,/login, Billing (/billing).
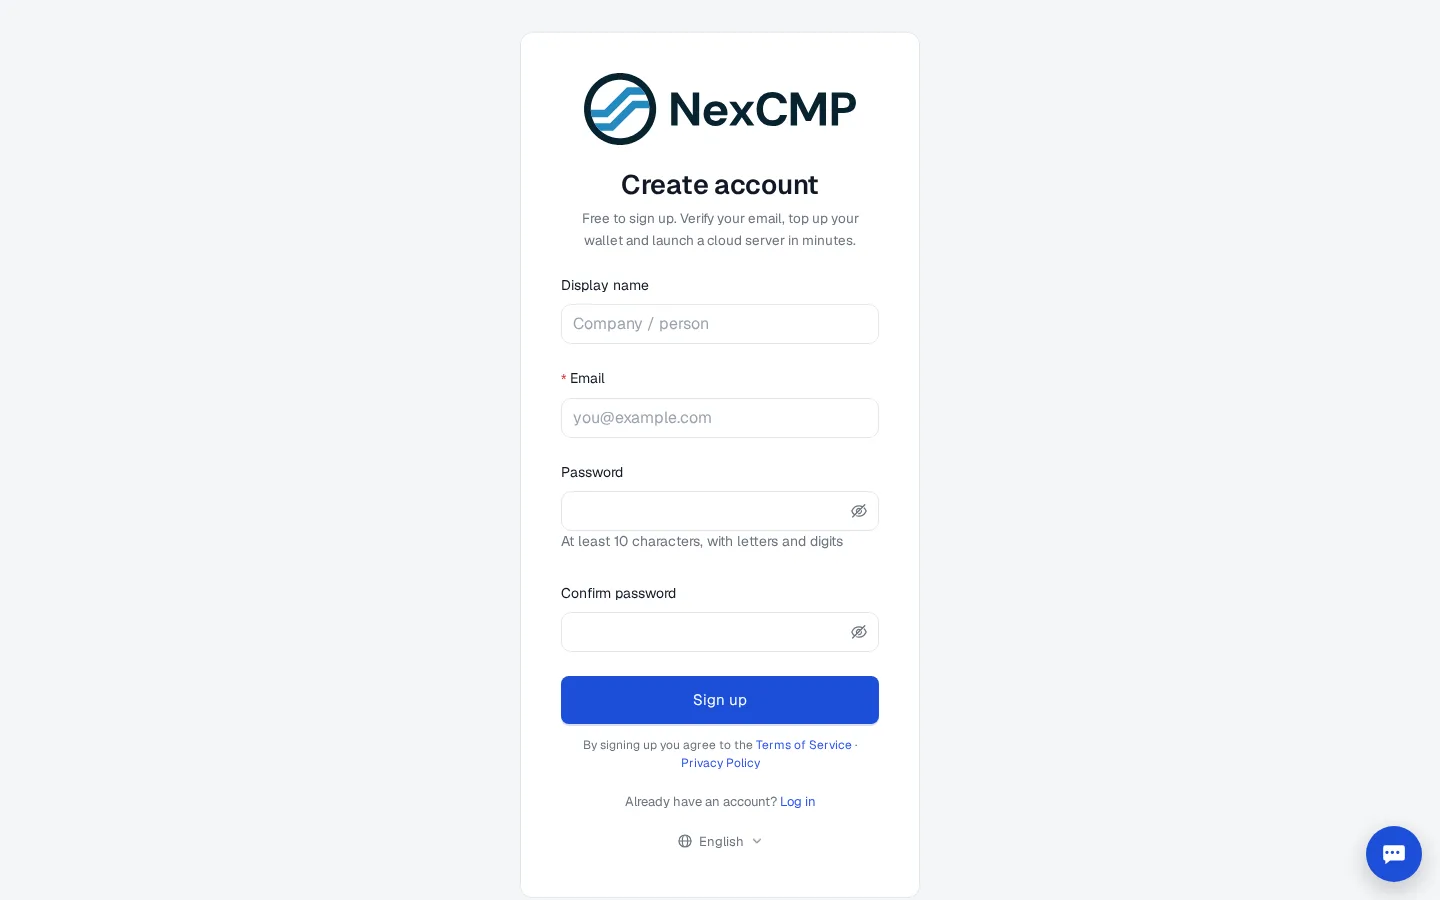
Create an account
- The customer opens
https://<your-domain>/registerand enters e-mail and password (at least 10 characters with letters and digits), or uses Google, GitHub or a passkey when you enabled them — see Security. - If captcha is enabled, they complete it.
- A verification e-mail is sent through your SMTP. Verifying is required before creating a VM when your sales settings require it.
TIP
Without working SMTP customers cannot verify their e-mail or reset a password. Configure SMTP first.
The wallet
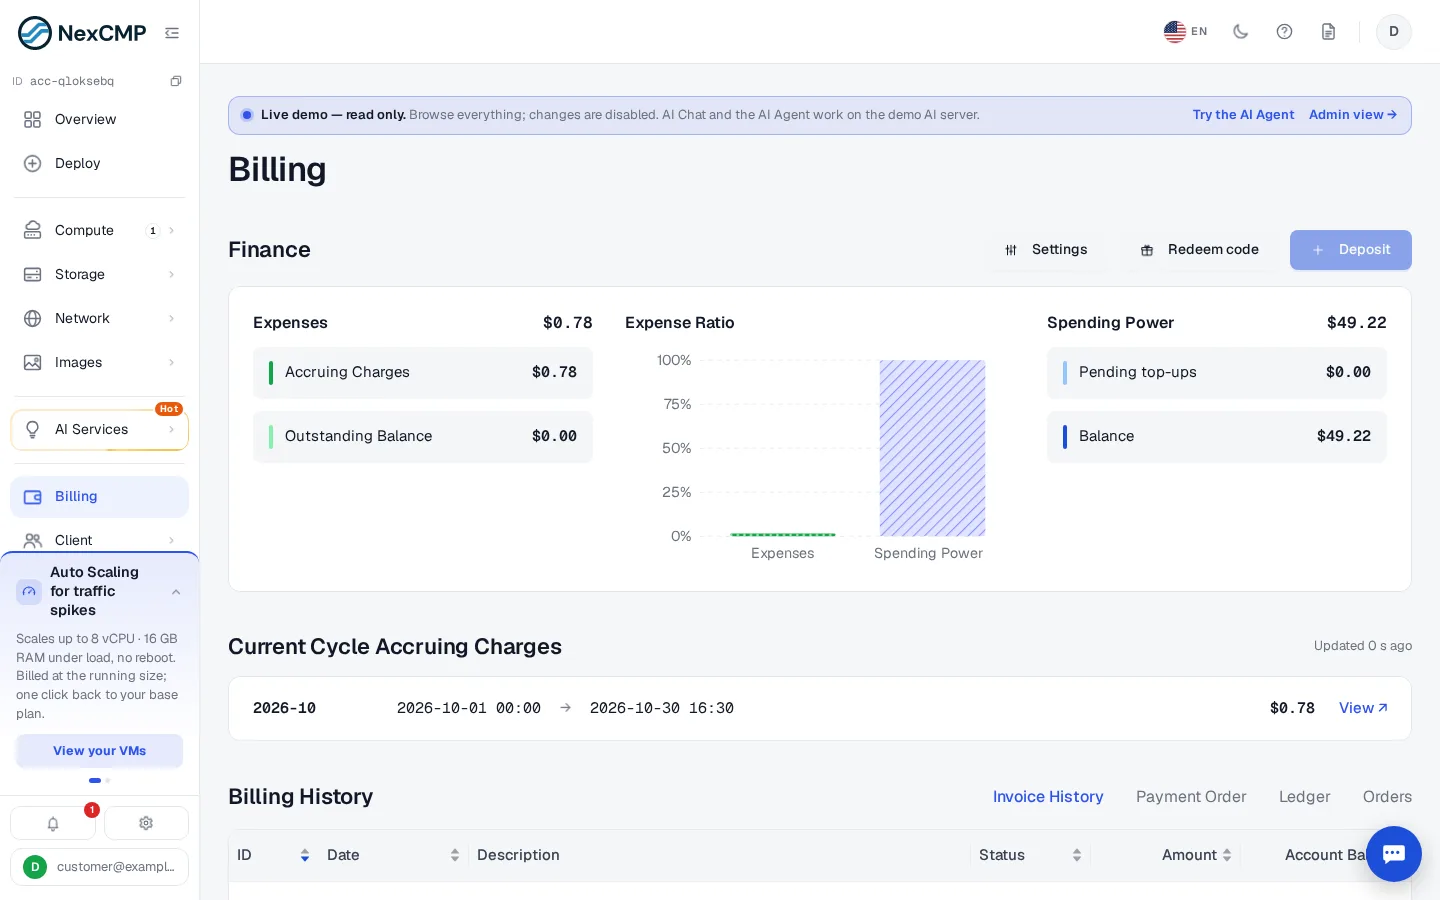
Everything is paid from a wallet balance in your billing currency. The Billing page shows:
| Section | Meaning |
|---|---|
| Spending power | Balance plus pending top-ups |
| Accruing charges | Hourly services consumed in the current cycle, not yet settled |
| Outstanding balance | Any amount owed |
| Billing history | Tabs Invoice History, Payment Order, Ledger, Orders |
Add credit
- Click Deposit.
- Enter the amount. The minimum is your minimum top-up.
- Choose a payment channel (card, PayPal, USDT, or bank transfer when the interface is Vietnamese) — channels are those you enabled in Payment channels.
- Pay. The balance updates when the payment provider confirms.
Saved cards, Stripe Link and PayPal can be reused and used for auto top-up; see Saved payment methods.
Redeem a code
Redeem code adds credit from a voucher you issued (Finance › Billing › Vouchers) or applies a promotion code — see Promotions.
Invoices
Each paid order produces an invoice that shows your seller details (General settings). Customers open it from Invoice History and print or save it as PDF from the browser.
Hourly charges
Hourly services are charged every hour the resource exists; amounts accumulate and a single hour can round to $0.00. When the balance is not enough, services are suspended according to your billing rules and the customer is told by e-mail (low_balance).